How to edit
This is where you'll learn some simple ways to edit and design
If you have any trouble in editing then you can contact me in the contact button and I will get back to you in full response to your question!
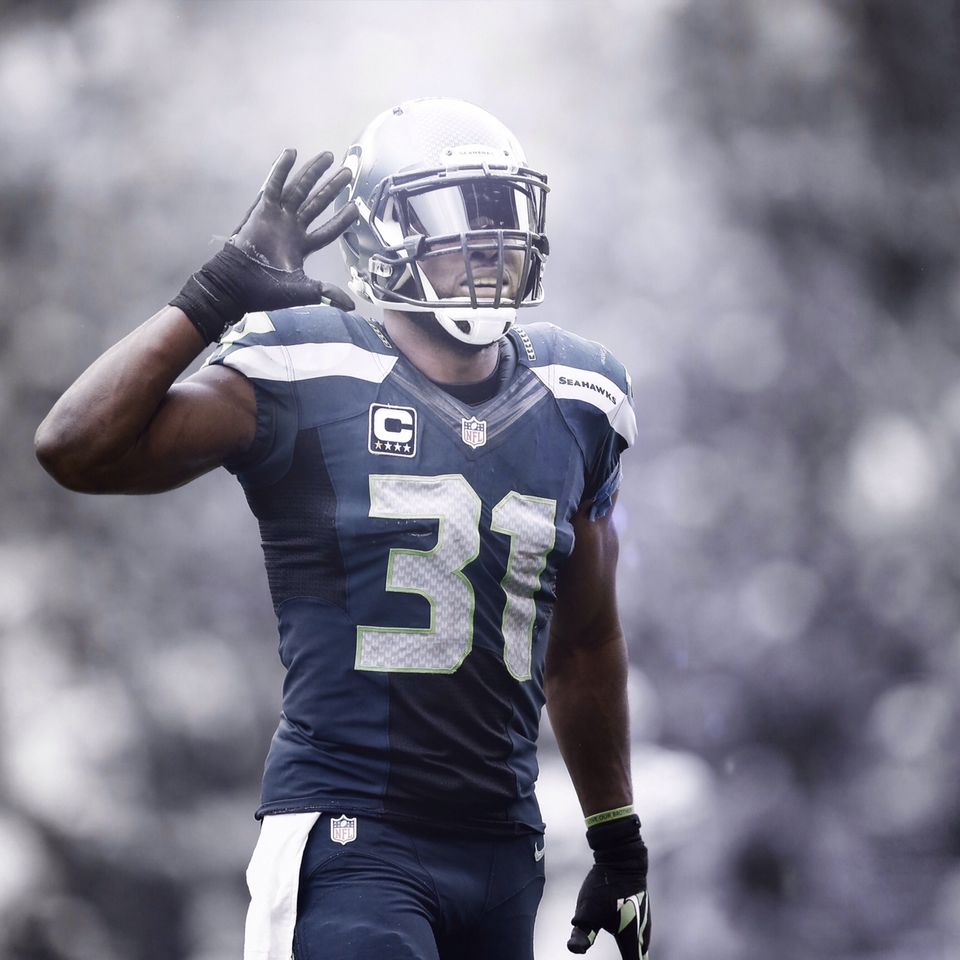
Lighting Tut
1) Find an HQ off google or whatever search engine you use. You can find higher quality (HQ) pics off google with search tools, larger than, and larger than 2mp atleast, I like larger than 8mp
2) Save it and open in an app or photoshop. Apps for this are leonardo or superimpose.(Email me for more info)
3) Next duplicate your layer and mask your player out
4) In between the two masked players make a black color fill, or like a plain black image. Put opacity at 20%
5) Find a light source by looking up "light source photoshop" or something, and save it. Put it behind the black fill (before it) and put it at 50 opacity
6) Duplicate your masked player and on the top one, if you're on software, go to filter-> camera raw filter. Mess around with contrast, detail, and clarity to make it darker. If you're on apps, go to an app called "ps express" and mess around with contrast, exposure, shadows, etc... to make it darker.
7) Go to your eraser tool and just erase the top of the top masked out player(Darker One) or mask it out to where the light source is shining/the direction it's facing
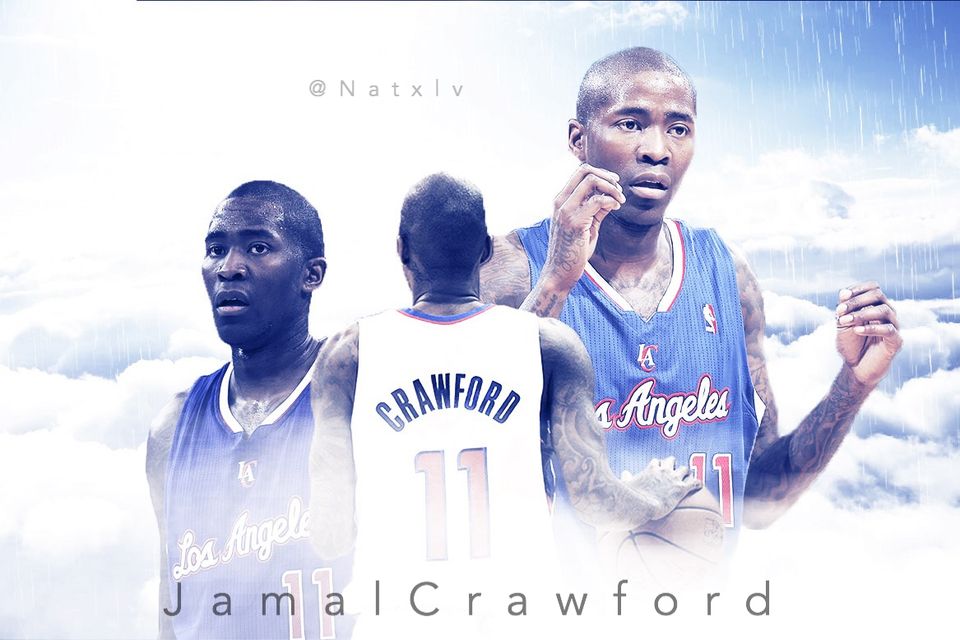
Gradient Map
(I'm gonna explain this with software first, but then I'll discuss apps, gradient map is a filter you add at the end of a edit to make it look better
1) flatten all your layers or save it and duplicate your finished piece
2) Make the colors black and white on duplicate layer 1 and put it on overlay at 100% opacity
3)Next two duplicates black and white on screen at 70% opacity
4) Next duplicate black and white on lighten at 60%
5) Next duplicate make the colors the teams main color and black, put it on soft light at 80% then another with the same colors on screen at whatever looks good
-Now for apps the same rule applies, I use leonardo, so go to leonardo, and instead of the black and white go to "gray presets" and then "cold light", and then for the teams color gradient part, go to "color map" then "preset 3" . So just substitute the photoshop parts for those above and it looks almost the same. ( Email me for more info ).
Simple edit tutorial
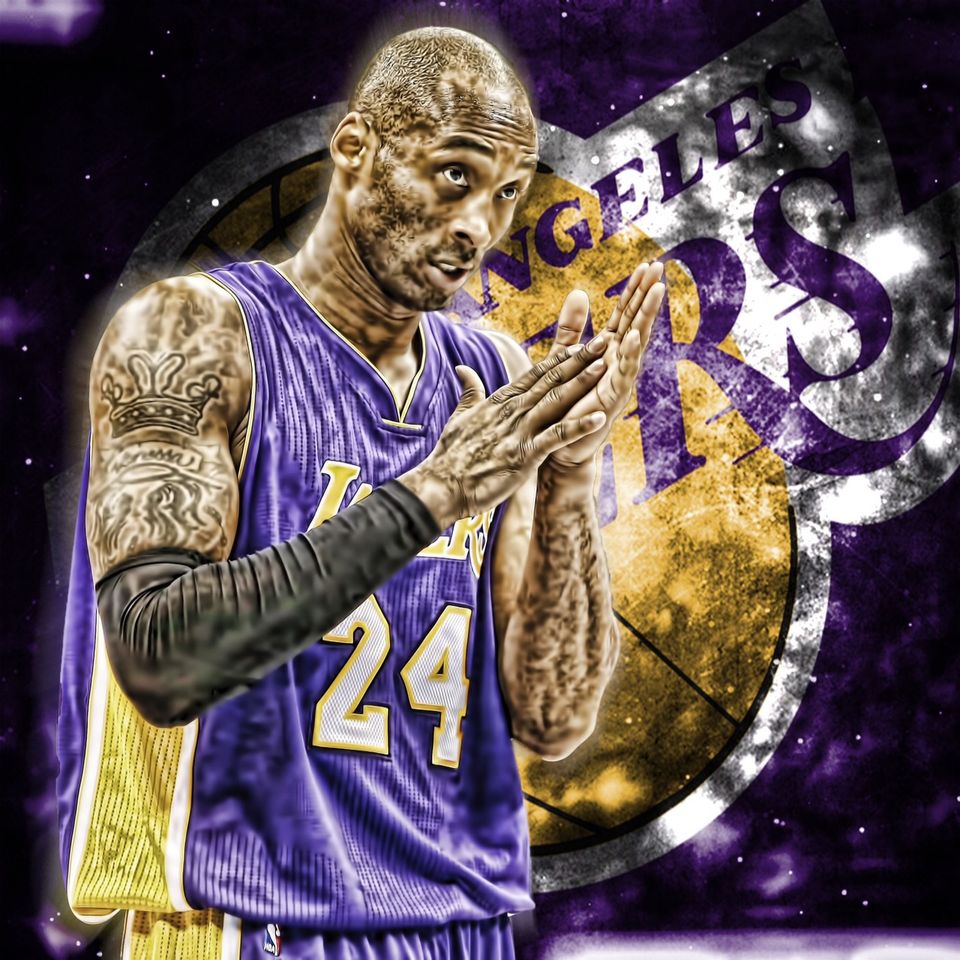
A simple edit is a edit where you don't have too much going on in the background, so the opposite of a design.
1) Put a skin on the player and then mask it out
2) Make the original background with the player black and white
3) Find an effect and put it on top of the white and black background. On this one I used a grunge and put it on overlay. Remember you can always change the opacity and blend mode. You can find a grunge on google by looking up "grunge effect"
4) Next I put a logo on overlay
5) Put the masked player png on top
6) If you want to get a glow around the player like this then duplicate the player png and put it on radial blur, then put it under the masked png.
Designing
Designing is for the more experienced and creative editors, I recommend doing simple edits first until you get comfortable with the system and how you are editing
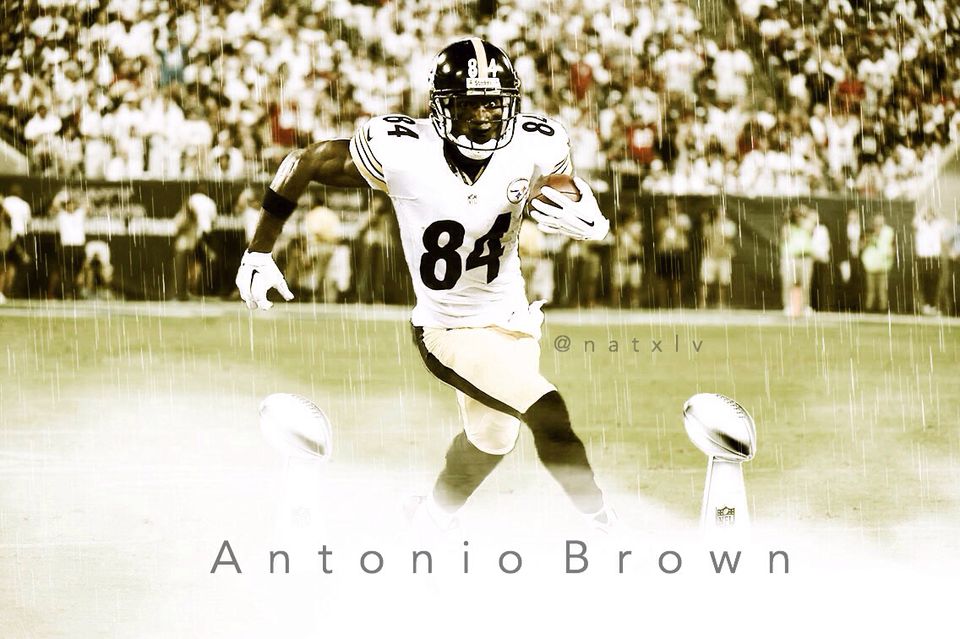
1) Designing uses your own backgrounds, so you need to create your own, or in rare cases find some you add together to make your background, like for example, this field of the Antonio Brown edit was not his original background, it was added as the background
2) Next add your player
3) add something like text or an effect related to the player or something he's striving for, as in this one, it's the text and the super bowl trophy
4) Add some lighting or a gradient map and maybe some rain or snow or some effect to finish it off
Skins
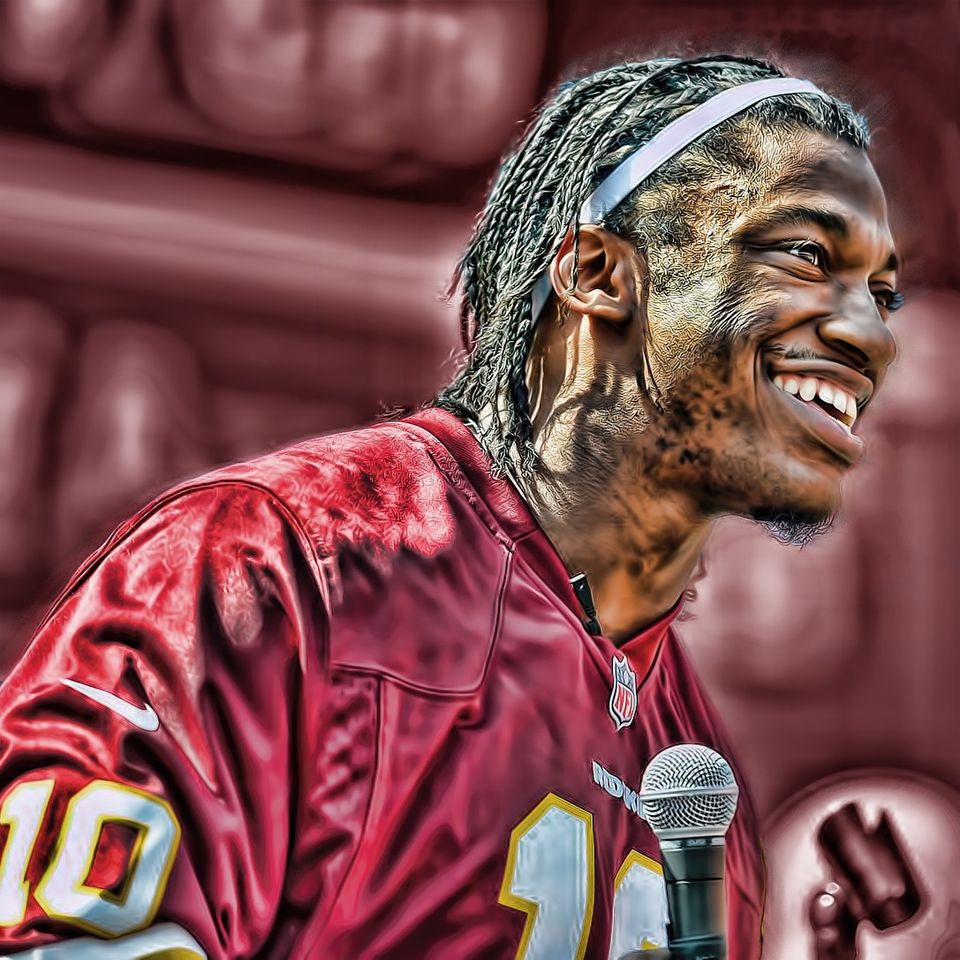
Skins can come from a software on computer known as topaz or apps on your android or iphone and maybe some other devices. There are many apps used for skins. Theres 1) Refine 2) ps express 3) snapseed 4) simply hdr 5) tangled fx 6) smart adjust 7) thorolgraffix(Off of app store now)
Go to my page on instagram @skinserver and I have some skins on there, and just follow the steps or you can go into the tools page to find some I might put in there
Vectors
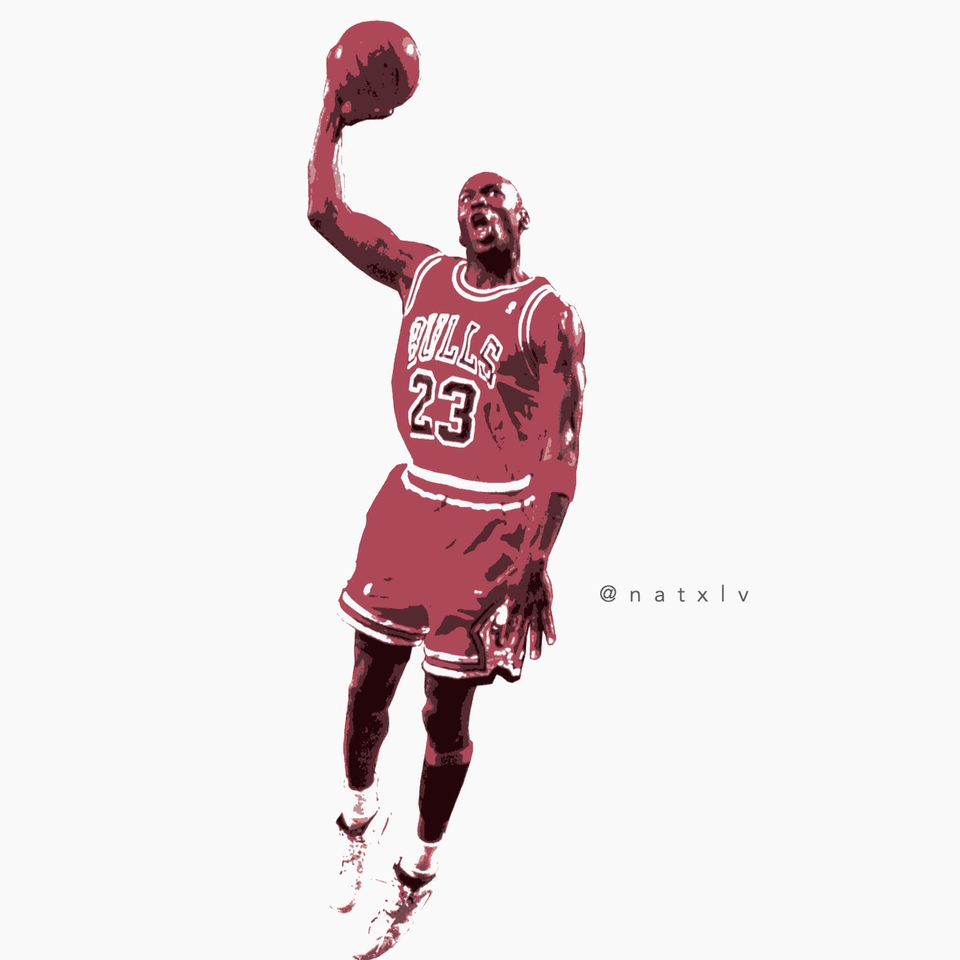
So I don't know how to do vectors on software but I do know how to do it on apps (not saying I'm good at in any means though, btw the photo this is tagged to is not what you'll be learning, I don't do a lot of vectors
Apps needed: Adobe Ideas
1) Put in your photo with the add photo
2) Go to color and click the color dropper at the bottom (This selects the exact color on the photo of your person)
3) Take your time and just color it in and put detail
